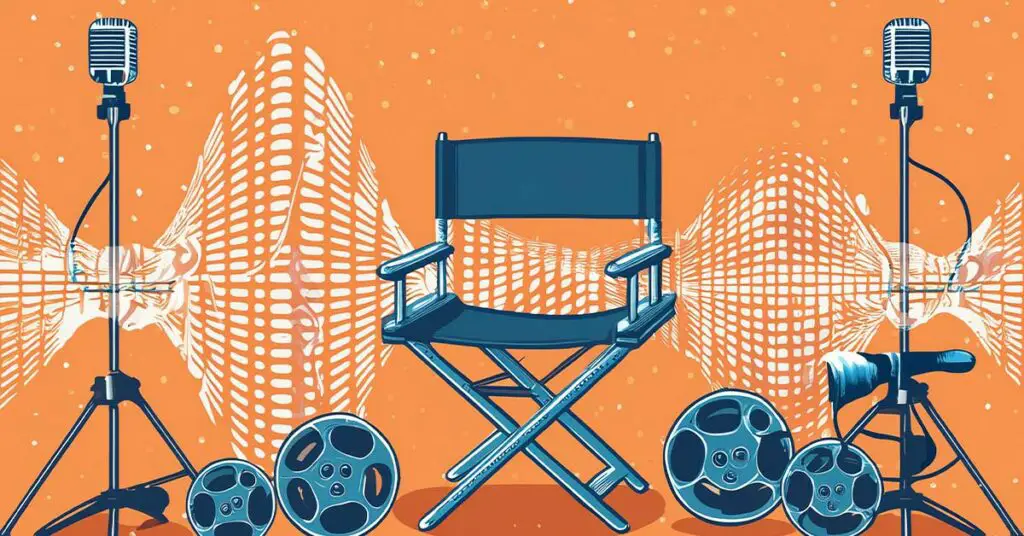
In the world of filmmaking, capturing perfect audio on set can be a daunting task. From unwanted background noise to unavoidable script changes, numerous factors can compromise the quality of dialogue recordings.
This is where Automated Dialogue Replacement (ADR), also known as dubbing or re-voicing, comes into play. ADR is a post-production process that allows filmmakers to re-record and replace dialogue after the initial filming has taken place.
Whether you’re a seasoned professional or a budding filmmaker, mastering the art of ADR can elevate your projects to new heights, ensuring that your dialogue remains crisp, clear, and seamless. In this comprehensive guide, we’ll delve into the intricacies of ADR, providing you with a step-by-step tutorial to help you navigate this essential aspect of filmmaking.
What is ADR?
Automated Dialogue Replacement (ADR) is a technique used in film production to replace or enhance the original dialogue recordings. It involves actors re-recording their lines in a controlled studio environment, typically during the post-production phase. ADR is commonly employed in scenarios where the original on-set audio is compromised due to factors such as excessive background noise, interference from nearby equipment, or even unavoidable script changes.
Unlike dubbing, which involves entirely replacing the original dialogue with a new language translation, ADR aims to maintain the authenticity of the original performances while enhancing audio quality. This process ensures that the final product meets the highest standards of audio clarity, allowing the audience to fully immerse themselves in the story without distractions.
Setting Up an ADR Studio
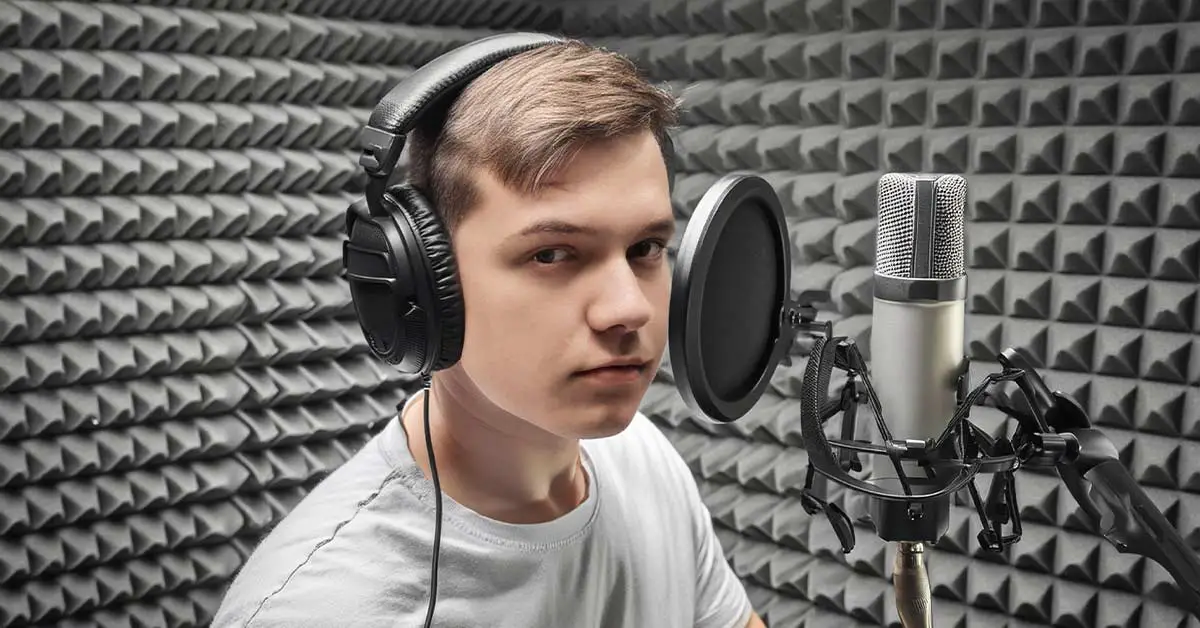
To begin the ADR process, you’ll need to create a dedicated studio environment that replicates the conditions of the original filming location as closely as possible. Here’s what you’ll need:
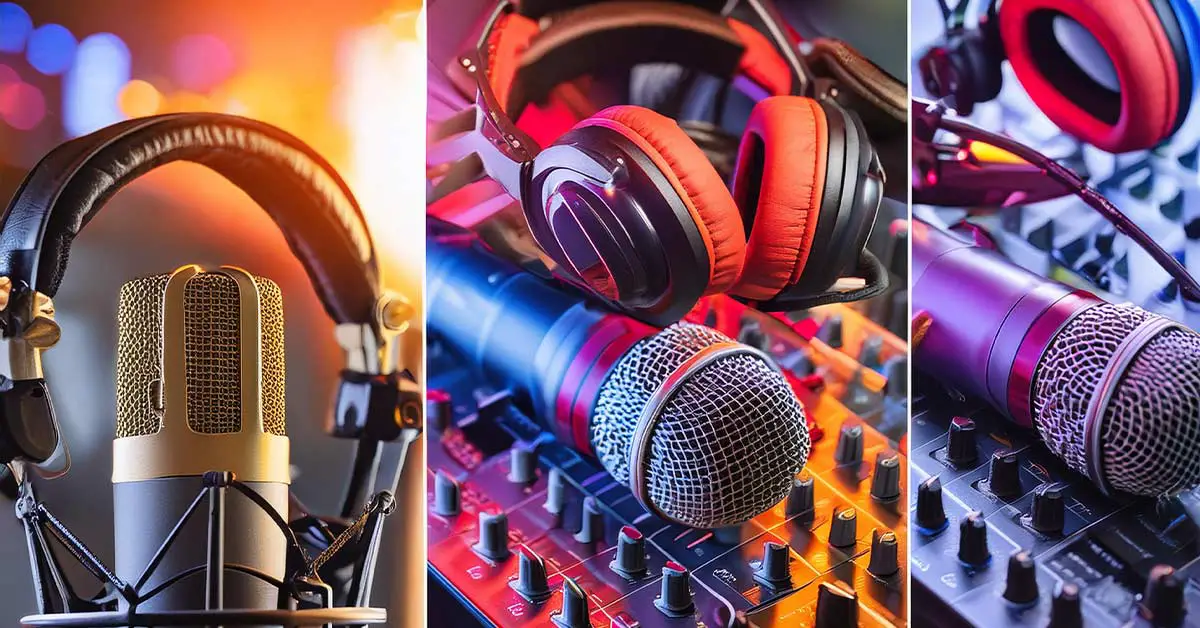
Essential Equipment:
- A high-quality microphone (condenser or shotgun mic recommended)
- An audio interface for connecting the microphone to a computer
- Closed-back headphones for monitoring
- A pop filter to reduce plosive sounds
- A quiet room or soundproofed studio space
Creating the Ideal ADR Environment:
- Soundproofing: Proper soundproofing is crucial to minimize external noise interference. Consider using acoustic panels, bass traps, and other sound-absorbing materials to create a controlled environment.
- Lighting: Match the lighting conditions of the original set as closely as possible. This will help the actor recreate the same emotional tone and facial expressions.
- Camera angle and positioning: Replicate the camera angle and actor positioning from the original scene. This will aid the actor in matching their performance and lip movements.
Matching the Original On-Set Conditions:
- Use reference footage or photographs from the original shoot to match the set, props, and actor positioning.
- Provide the actor with context about the scene, including any relevant emotional cues or character motivations.
- Consider playing the original dialogue recordings through the actor’s headphones to help them match the timing and delivery.
The ADR Workflow
Step 1: Preparing the Footage and Dialogue
Before diving into the recording process, it’s essential to prepare the necessary materials. This includes:
- Extracting the relevant video clips from the edited timeline
- Organizing the audio files containing the original dialogue
- Creating cue sheets and spotting notes to guide the ADR session
Cue sheets and spotting notes are crucial tools that help streamline the ADR process. They provide a visual representation of the scene, indicating when dialogue needs to be replaced and any specific notes or instructions for the actor.
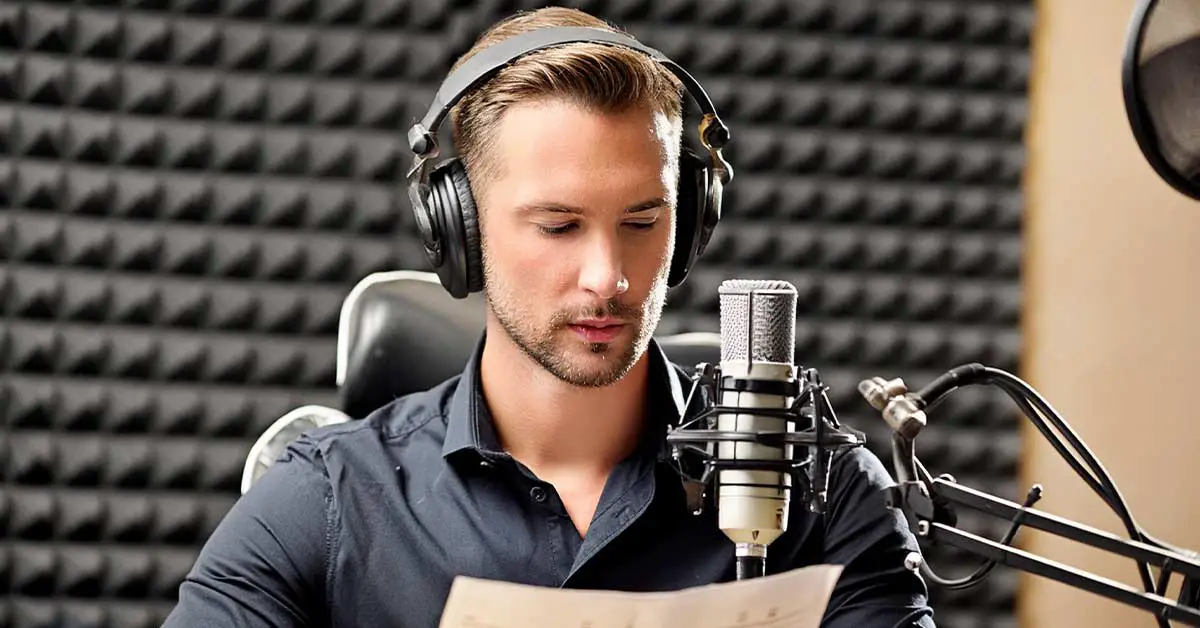
Step 2: Recording the ADR
With your setup in place and the necessary materials prepared, it’s time to begin the recording process. Here are some techniques to ensure a natural and seamless performance:
- Guiding the Actor: Provide the actor with context about the scene, including any relevant emotional cues or character motivations. This will help them recreate the same energy and tone as the original performance.
- Microphone Positioning and Levels: Proper microphone positioning and level setting are essential for capturing high-quality audio. Experiment with different distances and angles to find the sweet spot that best suits the actor’s voice and delivery.
- Managing Takes and Slates: Clearly label each take with a slate or a verbal cue to ensure easy identification during the editing process. Record multiple takes to give yourself options and increase the chances of capturing the perfect performance.
Step 3: Editing and Syncing the ADR
Once you’ve captured the new dialogue recordings, it’s time to integrate them seamlessly into the existing footage. This process involves:
- Aligning the New Dialogue: Using video editing software, carefully sync the new dialogue recordings with the corresponding video clips. Pay close attention to lip movements and timing to achieve a natural match.
- Matching Ambient Noise and Room Tone: To create a cohesive audio environment, you’ll need to match the ambient noise and room tone from the original recordings. This can be achieved by capturing room tone samples or using audio processing tools like EQ and reverb.
- Audio Clean-up: Even with a controlled studio environment, ADR recordings may still contain unwanted noise or artifacts. Utilize audio clean-up tools like iZotope RX or similar software to remove these imperfections and enhance the overall audio quality.
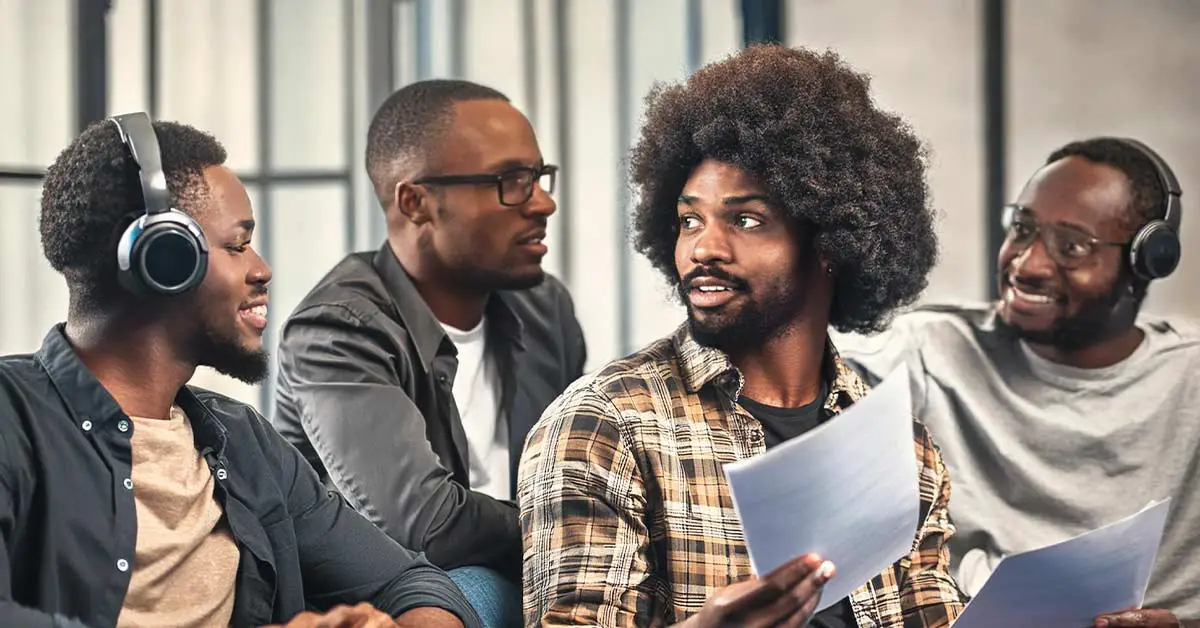
Advanced ADR Techniques
While basic ADR is commonly used for single-actor dialogue replacement, there are several advanced techniques that can further enhance your projects:
- Group ADR and Loop Group Recording: For scenes involving multiple actors, group ADR sessions allow for more natural interactions and overlapping dialogue. Loop groups, which consist of several voice actors, can be employed to create realistic background conversations or crowd noises.
- ADR for Animation and Video Games: ADR plays a crucial role in the animation and video game industries, where dialogue is often recorded separately from the visuals. Specialized techniques and tools are used to ensure precise lip-syncing and seamless integration of dialogue with the animated characters or game environments.
- Foreign Language Dubbing: While not technically ADR, the same principles and techniques can be applied to foreign language dubbing. This process involves replacing the original dialogue with a translated version, often requiring skilled voice actors and meticulous lip-syncing to maintain authenticity.
Best Practices and Tips
To ensure the best possible results when working with ADR, here are some best practices and tips to keep in mind:
- Common Mistakes to Avoid:
- Overlooking mouth shapes and lip movements
- Failing to match the original performance energy and tone
- Neglecting to capture room tone or ambient noise samples
- Ensuring Consistency with On-Set Audio:
- Match the microphone type and positioning used during the original recording
- Maintain consistent audio levels and processing
- Consider using the original on-set audio as a reference during the ADR session
- Working with ADR Supervisors and Editors:
- Collaborate closely with the ADR supervisor or dialogue editor to ensure a smooth workflow
- Provide clear instructions and notes to guide the actors
- Be open to feedback and suggestions for improving the ADR process
Resources and Further Learning
As with any aspect of filmmaking, continuous learning and exploration are essential for mastering the art of ADR. Here are some resources and recommendations to further your knowledge:
Recommended Hardware and Software:
- High-quality microphones (e.g., Rode NT1-A, Sennheiser MKH 416)
- Audio interfaces (e.g., Focusrite Scarlett, Universal Audio Apollo)
- Video editing software (e.g., Adobe Premiere Pro, Final Cut Pro X, DaVinci Resolve)
- Audio editing and cleanup tools (e.g., iZotope RX, Waves plugins)
Books and Online Courses:
- “The Dialogue Editor’s Toolkit” by Natsuko Ohmori-Tardiff
- “The Foley Grail” by Vanessa Theme Ament
- Online courses from platforms like Masterclass, Skillshare, or Coursera
Industry Professionals to Follow:
- Gordon Sheppard (ADR Supervisor)
- Sherry Klein (Dialogue Editor)
- Gina Massaro (ADR Supervisor)
- Follow industry blogs and podcasts for the latest ADR trends and techniques
Conclusion
Mastering the art of Automated Dialogue Replacement is an invaluable skill for any filmmaker seeking to elevate the quality of their projects. By following the techniques and best practices outlined in this comprehensive guide, you’ll be well-equipped to tackle even the most challenging dialogue replacement scenarios.
Remember, ADR is not just about fixing audio issues; it’s about enhancing the overall viewing experience for your audience. With dedication, practice, and a keen ear for detail, you can create seamless, immersive dialogue that brings your stories to life.
The journey to becoming an ADR expert is ongoing, as the field continues to evolve alongside new technologies and creative approaches. Embracing a mindset of continuous learning and experimentation will be key to staying ahead of the curve. Seek out opportunities to collaborate with experienced professionals, attend workshops, and stay up-to-date with the latest industry trends and techniques.
Moreover, don’t be afraid to push the boundaries of what’s possible with ADR. Innovators in the field have used creative methods to achieve unique effects, such as recording dialogue underwater or experimenting with unconventional microphone placements. Your willingness to think outside the box and take calculated risks could lead to groundbreaking advancements in the art form.
Ultimately, the true mastery of ADR lies in your ability to strike a balance between technical proficiency and artistic expression. While adhering to best practices and industry standards is crucial, it’s equally important to infuse your work with a personal touch that reflects your unique creative vision.
So, embrace the power of ADR, experiment with different techniques, and never stop learning. The world of filmmaking is ever-evolving, and those who stay ahead of the curve will be the ones to leave a lasting impact. With patience, perseverance, and a passion for crafting immersive stories, you can elevate your projects to new heights and captivate audiences with the magic of flawless dialogue.
